Amazing GIF
January 27, 2023

To create GIF files, we use only free and open-source software:
VokoscreenNG, Kdenlive, Darktable, and Gimp can be found in your distribution's repository or app store. Gifski is easiest to install via Cargo; details are on crates.io.
VokoscreenNG– this application allows us to record a video.Kdenlive– a video editor that helps export a video file as a sequence of images.Darktable– an image editor for batch processing images.Gimp– an image editor for batch processing images.Gifski– assembles images into a high-quality GIF.
VokoscreenNG
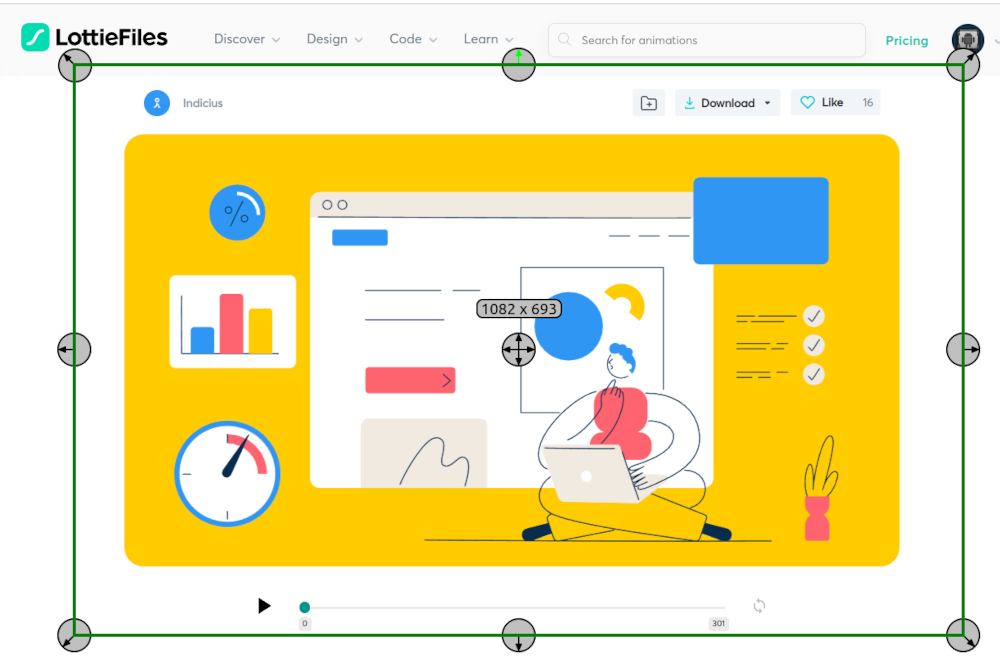
Let's say we liked an animation from Lottie. There is an option to download a GIF or mp4, but that's not our approach. Here’s why: the size isn't what we need, and the background is white. If you adjust the background on their site, the GIF ends up with jagged edges. Using VokoscreenNG, we can record a video of the desired size directly from their website for subsequent processing and obtaining a high-quality GIF.
Kdenlive
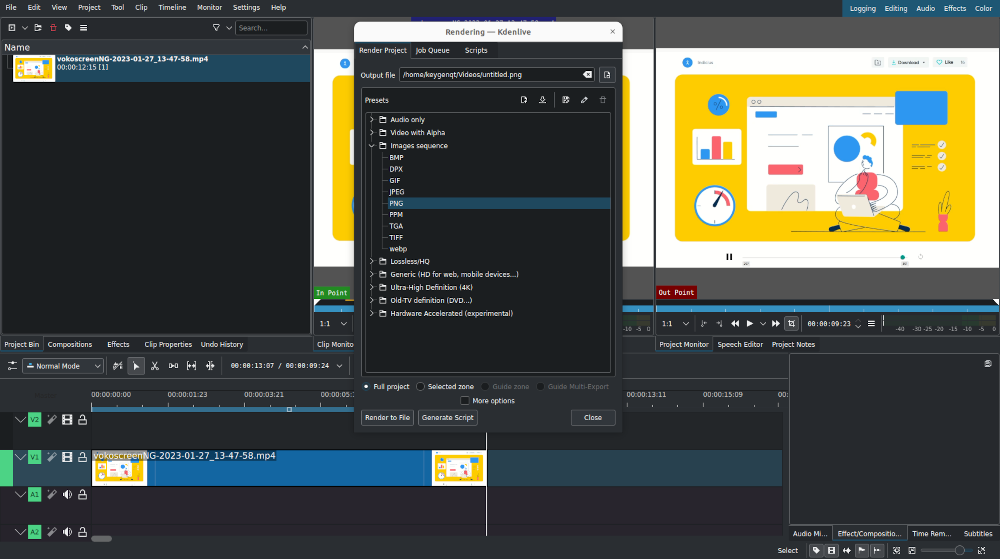
Kdenlive is an open-source video editor. We’ll edit the video file created by VokoscreenNG: trim the start and end, and export the video as a sequence of images for further work.
Kdenlive has a GIF export feature; you can try it, but the quality leaves much to be desired.
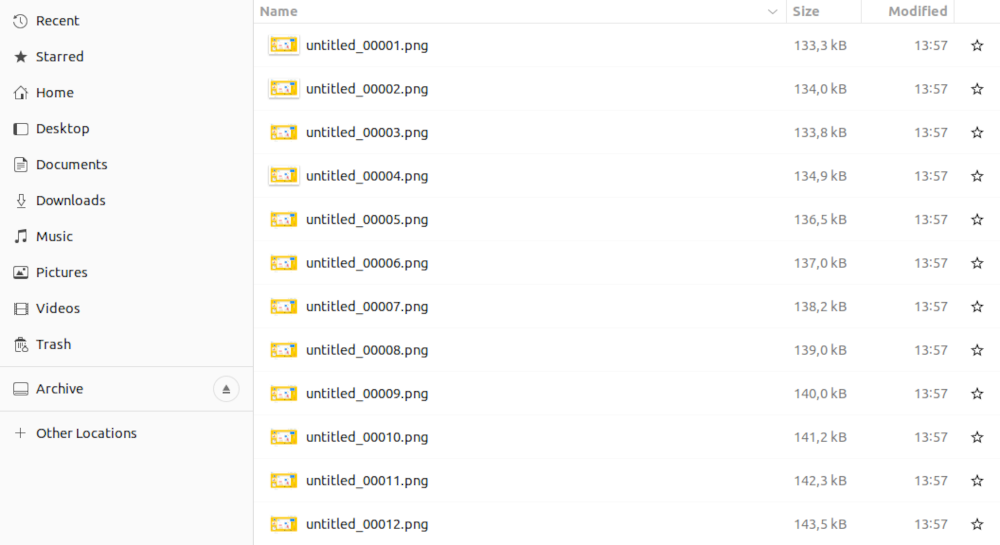
After exporting, we should get a folder of images to continue working with.
Darktable
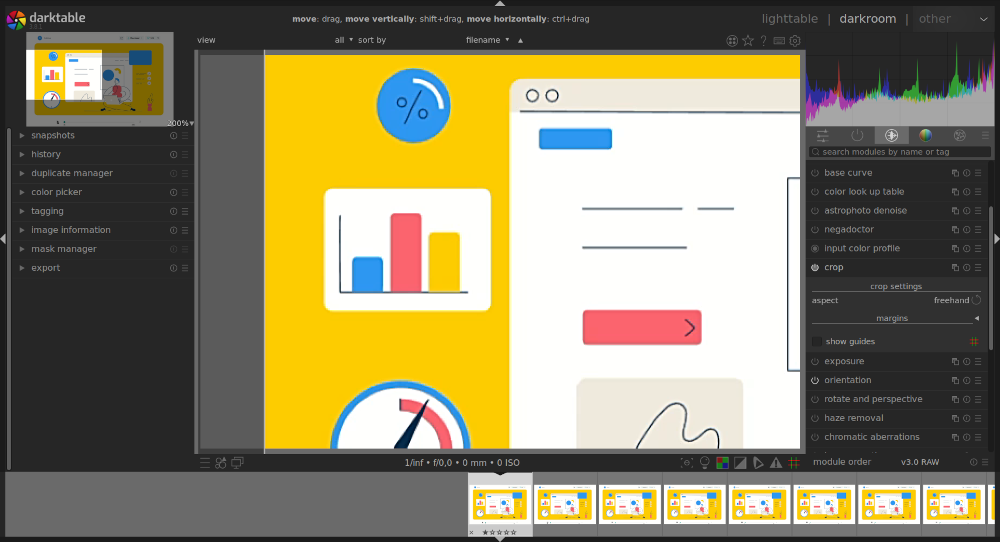
Darktable is a powerful application for photographers, capable of batch processing images. We need to crop the edges. To do this, open the Kdenlive export folder in Darktable and select any image. Find the crop tool and crop the image to the desired size.
Next, we need to copy the applied modifications from the first image to all others. Go to lighttable, select the modified image. In the history stack section, click copy. Select all other images (Ctrl+A) and click paste.
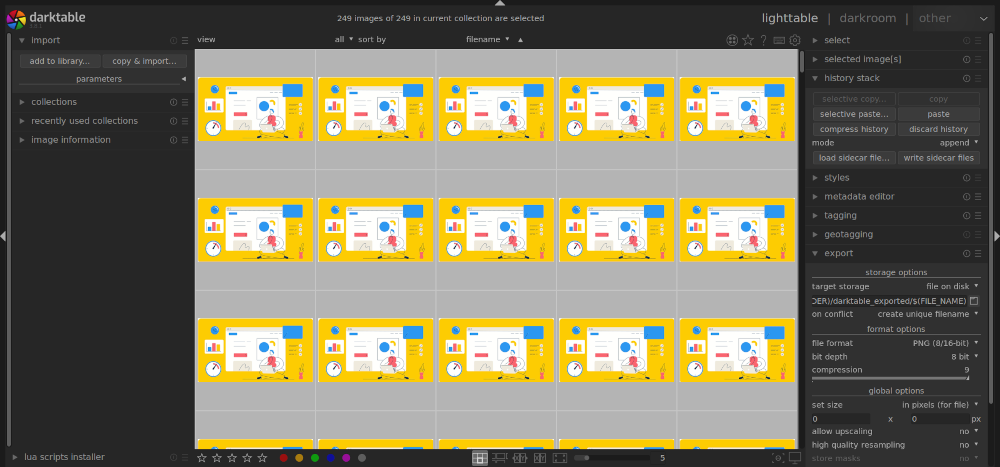
All changes—in our case, crop—will be applied to every image. Then export the processed images as PNGs.
Gimp
Now we’re almost done, but the corners lack rounding. Unfortunately, Darktable cannot create a transparent layer or add rounded corners to image edges.
Gimp v2
We can accomplish the task of "adding rounded corners to image edges" using Gimp's Batch Mode for batch image processing. The script below will round the corners of images to your specified radius.
image_radius.sh
#!/bin/bash

echo -n "Specify radius: "

read radius

gimp -i -b - <<HERE
  (with-files "*.png"
    (let* ((imgwidth (car (gimp-image-width image)))
           (imgheight (car (gimp-image-height image)))
           (offsetx 0)
           (offsety 0)
           (radius $radius))
      (unless (= (car (gimp-image-base-type image)) INDEXED)
        (script-fu-round-corners image
                                 layer
                                 radius
                                 FALSE
                                 0
                                 0
                                 radius
                                 FALSE
                                 FALSE)
        (gimp-file-save RUN-NONINTERACTIVE
                        image
                        (car (gimp-image-merge-visible-layers image TRUE))
                        filename
                        filename))))
HERE
Add the script to the directory with your images and execute it.
Files will be overwritten.
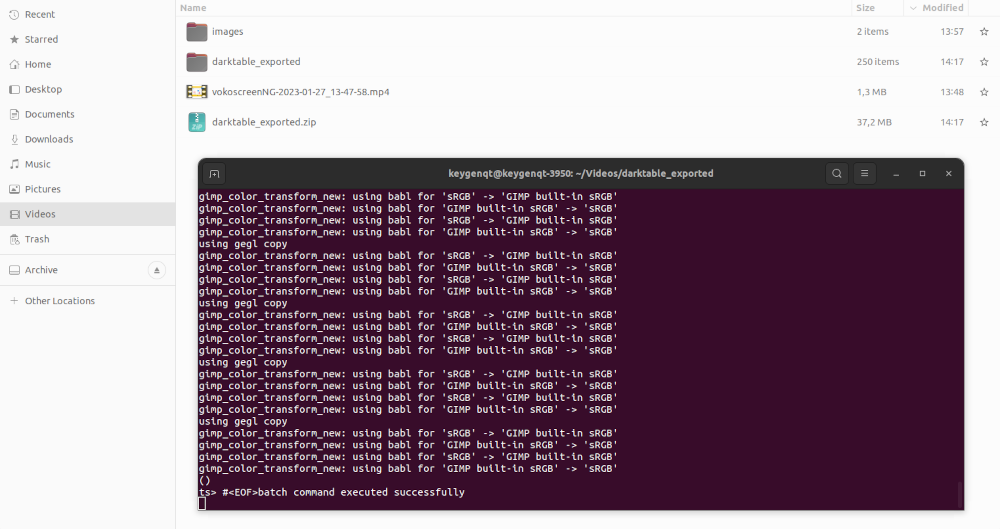
Gimp v3
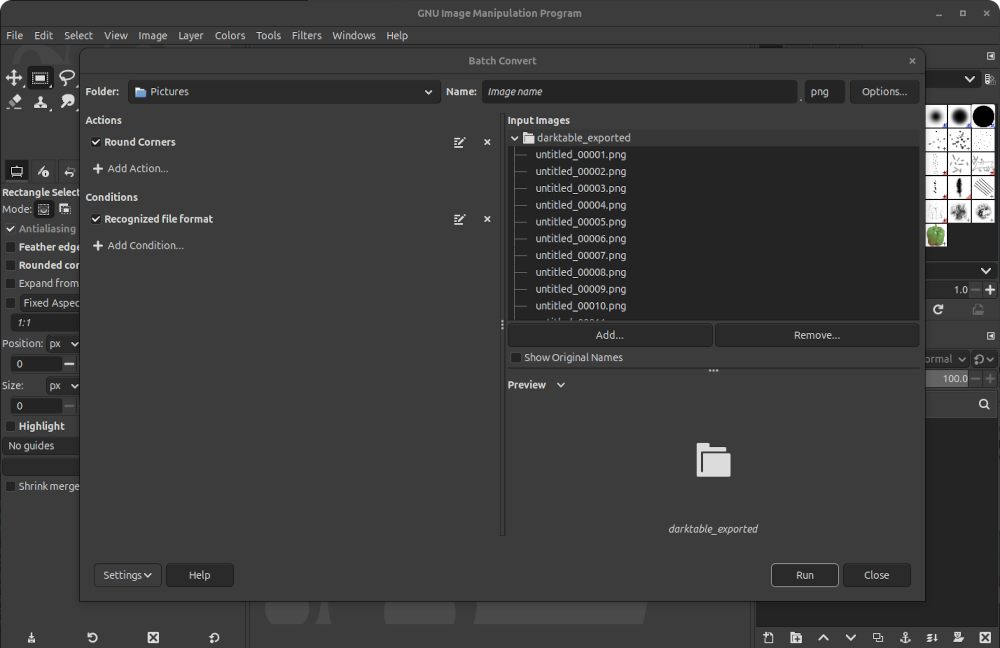
You can also accomplish the task of adding rounded corners using the Batcher plugin. After installing it in Gimp 3+, you can add the necessary image modification parameters—in our case, Round Corners.
Gifski
Now our images are ready for final processing. Using Gifski, we can create a GIF of the desired size and quality level. You can review all application parameters via the --help flag.
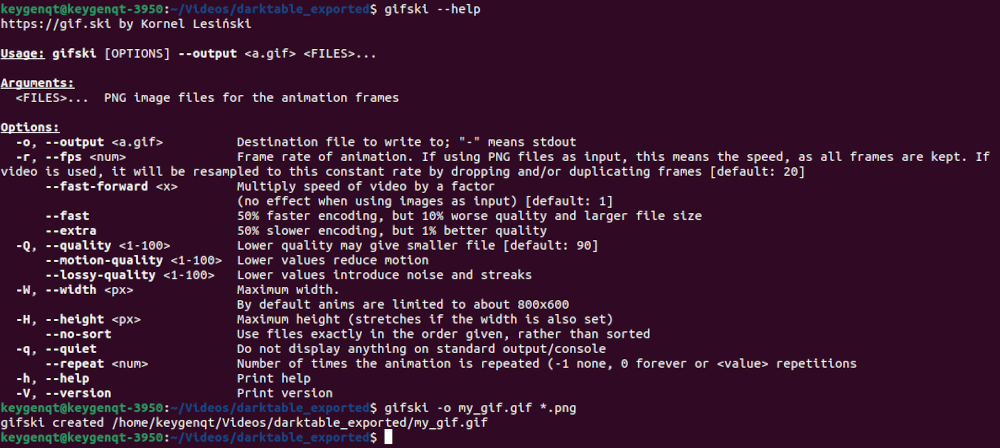
In the directory with the prepared images, run the command:
gifski -o my_gif.gif *.png
A GIF file named my_gif.gif will be created with Gifski's default parameters.

Getting excellent quality GIFs isn’t so difficult after all. All these applications have a vast number of settings, allowing you to flexibly tailor the results to your needs. Now you can use such a GIF to decorate your GitHub or GitCode page, your application, and much more!